Do you need help with your thermal printer head?
Over time, these printer heads can become clogged with dirt and dust, impeding your print quality.
Thankfully, cleaning your thermal printer head with just a few simple steps is easy.
In this article, you’ll learn the basics of how thermal printer heads work, how to clean them properly, and the printer rollers, platen, and cover.
By following some easy steps, you can return your thermal printer head to its optimal condition and resume printing in no time.
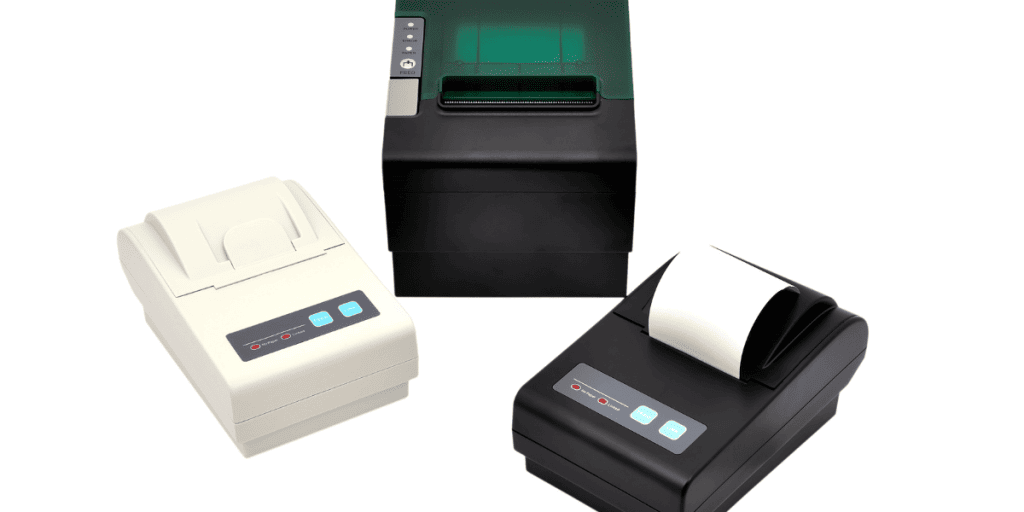
The Basics of Thermal Printer Heads
Maintaining your Thermal Printer Head is easy when you know what to do. The Printer Head is an essential part of the Thermal Printer and needs to be kept clean to produce high-quality prints.
To ensure optimal performance, use Isopropyl alcohol to wipe down the Printer Head and the Platen Roller. A special Cleaning Pen can also be used to clean the Printer Head and the Platen Roller.
With just a few minutes of regular maintenance, your Thermal Printer will continue to produce quality prints.
Understanding How Printer Heads Work
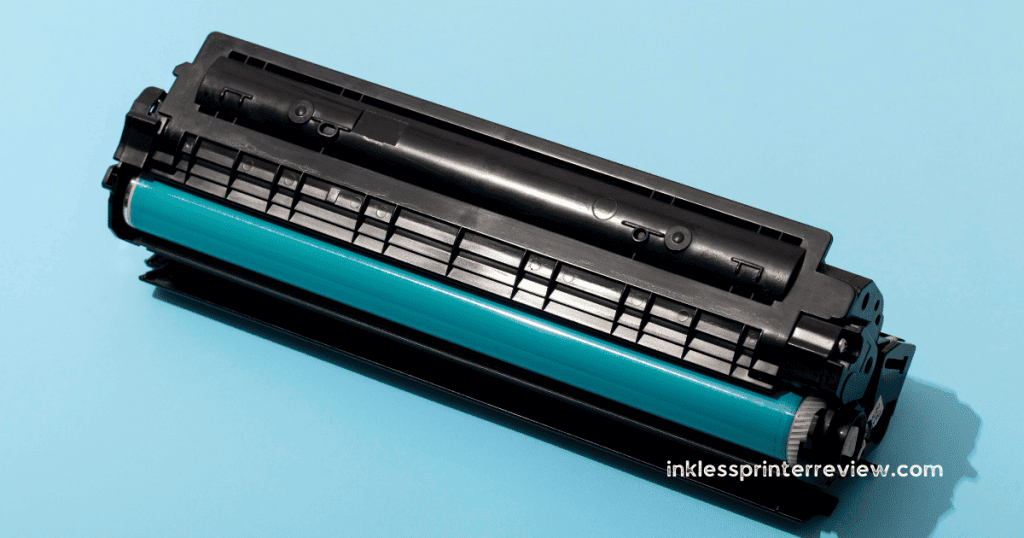
It would help if you understood how the print-producing component works before you can figure out how to keep it running correctly. A thermal printer head is a critical part of any thermal printer, turning a digital image into a physical one.
The printer head is heated to a specific temperature by passing an electrical current. This causes a chemical reaction, which results in the transfer of the image onto paper.
Here are some key points to remember:
Components:
- Printer head: Heats up and transfers the image onto paper.
- Electrical current: Passes through the printer head to heat it.
- Chemical reaction: Occurs when the printer head is heated.
Cleaning:
- Use a cotton swab: To clean the printer head, debris must be removed.
- Use a cleaning solution: To help remove any build-up on the printhead.
- Use a lint-free cloth To finish cleaning and buff the printhead.
- Cleaning frequency: Regularly clean the printer head to prevent blockages and build-up.
You can keep your thermal printer running smoothly by understanding how the thermal printer head works, how to clean it, and the frequency with which it should be cleaned.


Preparing the Printer for Cleaning
Before cleaning, make sure to properly prepare the printer so that you can get the best results. To begin, turn off the printer’s power and disconnect it from any power source. Then, remove the printer head from the printer. Ensure to use extreme care, as the printer head is delicate and easily damaged. Here are some crucial points to keep in mind when preparing for cleaning:
- For cleaning the printer head and thermal transfer printing, it is advisable to use a cloth free of lint.
- Use alcohol to clean the printer head.
- To clean the printer head, use a cloth that has been dampened with alcohol.
Once the printer head has been cleaned and reinserted into the printer, you can proceed with the cleaning process. Make sure to follow the manufacturer’s instructions for proper cleaning and maintenance. This will help ensure the best results when cleaning your thermal printer head.
Cleaning the Printer Head
Once the printer head is removed, it’s time to clean it to get the best results thoroughly. Follow these steps:
- Use an alcohol solvent to clean the printer head.
- Use a cotton swab to remove any residue left behind.
- Use a cleaning card to remove any dirt or dust that may be present.
- Before you put the thermal printer back together, it’s essential to use a clean cloth or paper towel to dry the printer head thoroughly.
Cleaning the Printer Rollers
To ensure the best performance from your printer, it’s essential to keep the printer rollers clean. Here are some tips to help you keep them in good condition:
- Use a Cleaner Strip to scrub the rollers regularly.
- Use gentle pressure when scrubbing the rollers.
- Dry the rollers off with a soft, dry cloth.
If the rollers become excessively dirty, use a diluted isopropyl alcohol solution to clean them. Be sure to thoroughly dry the rollers after cleaning them with the alcohol solution.
Finally, apply a small amount of oil to the rollers to help them move freely.
Taking the time to clean your printer rollers will ensure the best performance from your thermal printer.
Cleaning the Printer Platen
Regular maintenance and cleaning of the platen are essential to keep your thermal printer in optimal condition and ensure the best output quality. Here’s how to do it:
- Turn off your thermal printer and unplug it from the wall. Make sure it’s cooled down before proceeding.
- Use a damp, lint-free cloth to wipe off any residue from the platen’s surface. It is advisable to steer clear of harsh chemicals or abrasives as they can potentially cause damage to the printer.
- To eliminate any excess moisture, use a dry fabric to polish the surface.
- Clean other components of the thermal printer, such as the rollers and the printhead.
Regularly cleaning the platen can prevent issues like smudging and blurred images and ensure that your printer is always in top condition.
Cleaning the Printer Cover
Now that you’ve tackled the printer platen let’s move on to the printer cover. Make sure to remove the ribbon roll before you begin.
To clean the thermal print head and the printer cover, use a soft cloth and isopropyl alcohol. Here are some essential points to remember:
- Avoid harsh chemicals or abrasive cloths, which could damage the thermal printing.
- Be sure to thoroughly clean all areas of the printer cover, paying particular attention to the thermal print head.
- Use the cloth to remove any excess liquid, as this could damage the print head.
Testing the Printer After Cleaning
Once you’ve finished cleaning the print components, it’s time to test the printer. Ensuring the printer is working correctly is essential for avoiding unnecessary cleaning. To test the printer, these points need to be followed:
- Check the ribbon. Make sure the ribbon is correctly installed and in good condition.
- Inspect the Print Head Access Door and the Thermal Print Head. If the Print Head shows signs of dirt or dust, use a soft cloth and the appropriate cleaning techniques to remove the residue.
- Once the Print Head is clean, close the Print Head Access Door.
- Test the printer by running a few test prints.


Frequently Asked Questions
What type of cleaning solution should I use?
It would help if you used an alcohol-based solution to clean the printer head. Ensure the solution is non-flammable and specifically designed to clean thermal printer heads.
How often should I clean my thermal printer head?
It would help to clean your thermal printer head regularly to ensure optimal print quality. Aim to do it every few weeks or if you notice any changes in print quality.
Is there a way to prevent dust and dirt from building up on the printer head?
For optimal printer performance, it is recommended that you clean the printer head regularly to prevent the accumulation of dirt and dust. To keep it clean, wipe it with a soft cloth and cleaning solution every few weeks.
Is there a risk of damaging the printer head if I clean it too frequently?
It’s possible to damage the printer head if you clean it too frequently. Be sure to follow the manufacturer’s instructions when cleaning to minimize the risk.
Can I clean the thermal printer head or hire a professional?
You can clean the printer head yourself. However, hiring a professional is generally recommended to ensure it’s done correctly and without any risk of damaging the printer head.